Introduction
In Vision there is an option to transfer/reassign profiles, and you can transfer them to another user, to your own/other team, or simply move them to another folder.
Transfer profiles to another folder
It is often necessary to transfer a created profile to another folder with all its settings (tags, statuses, proxies, extensions, bookmarks).
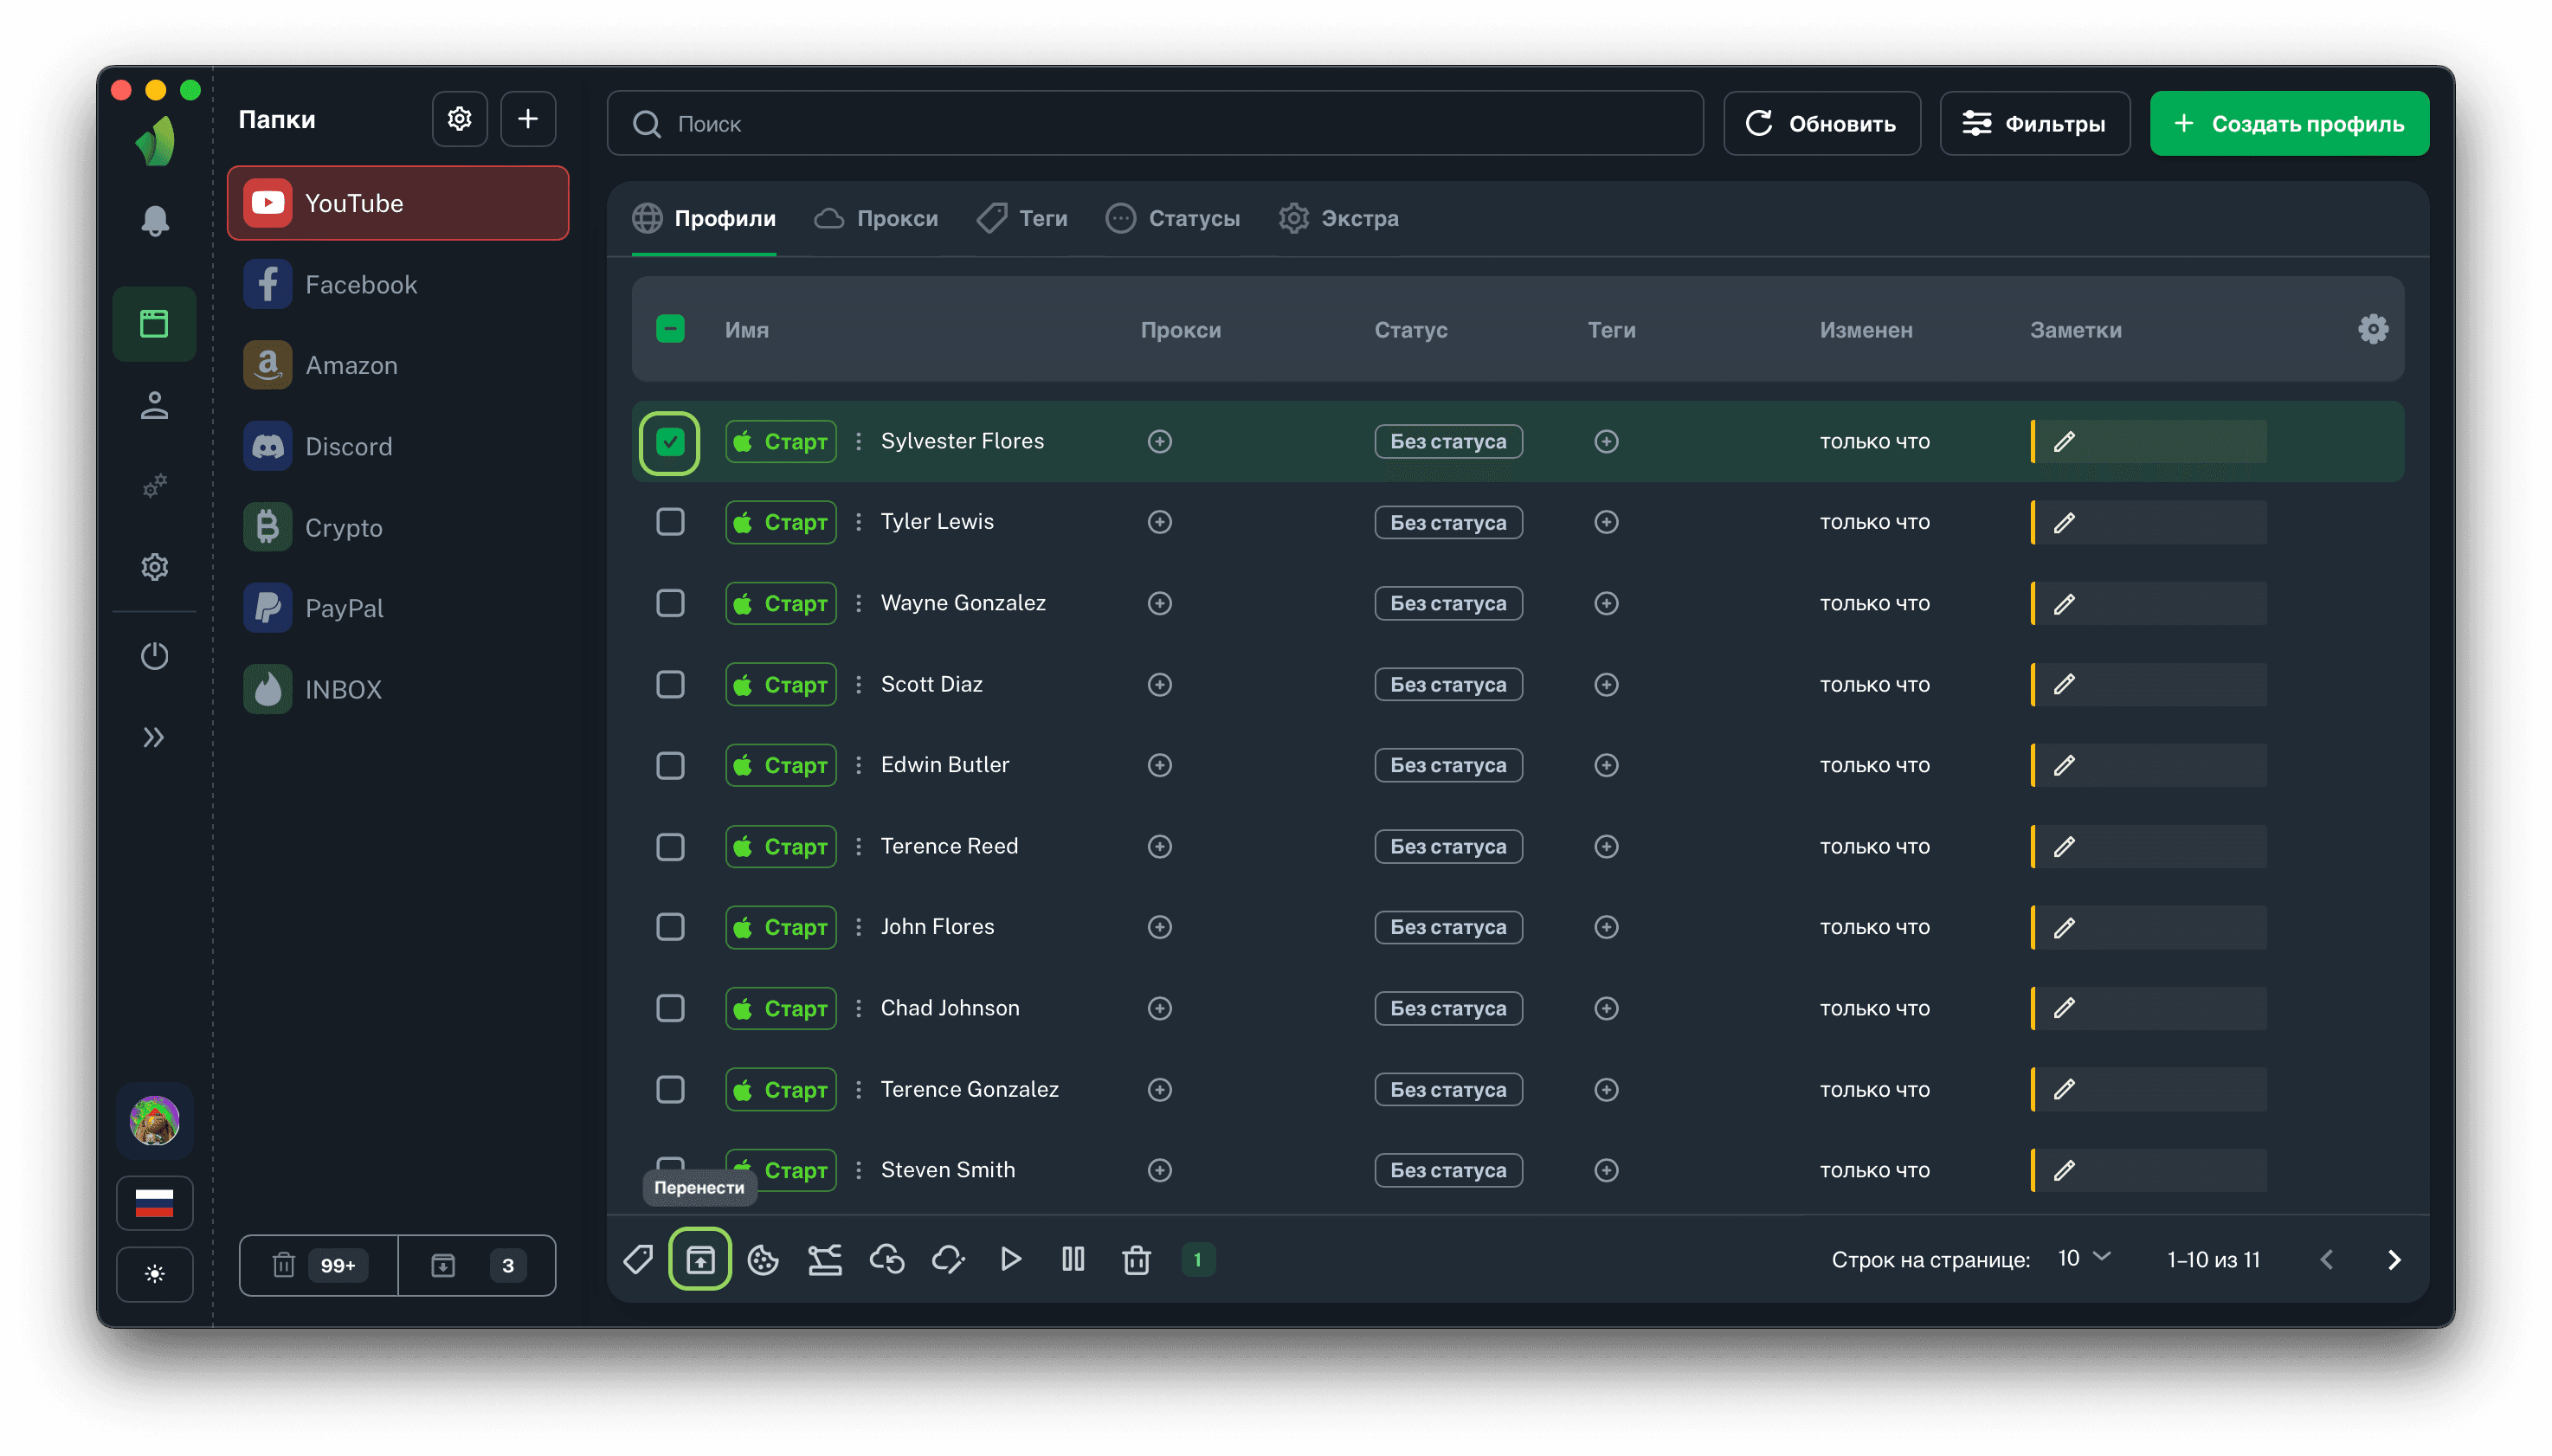
To do this is very simple: select the desired profile, click the Transfer Profile icon in the bulk actions menu, select the folder you want to transfer the profile to in the opened sidebar, click the Move button.
Don't forget to select switcher with proxies, tags, and statuses if necessary.
 Select the profile and click on the profile transfer icon in the mass actions menu
After pressing the Move button, the profiles will be moved to the folder specified during the migration.
Transfer of profiles to another user
On all paid Vision tariffs there is a possibility to transfer profiles to other users, and you can transfer a profile either from a personal account or from a team.
The process is very similar to transferring profiles to another folder:

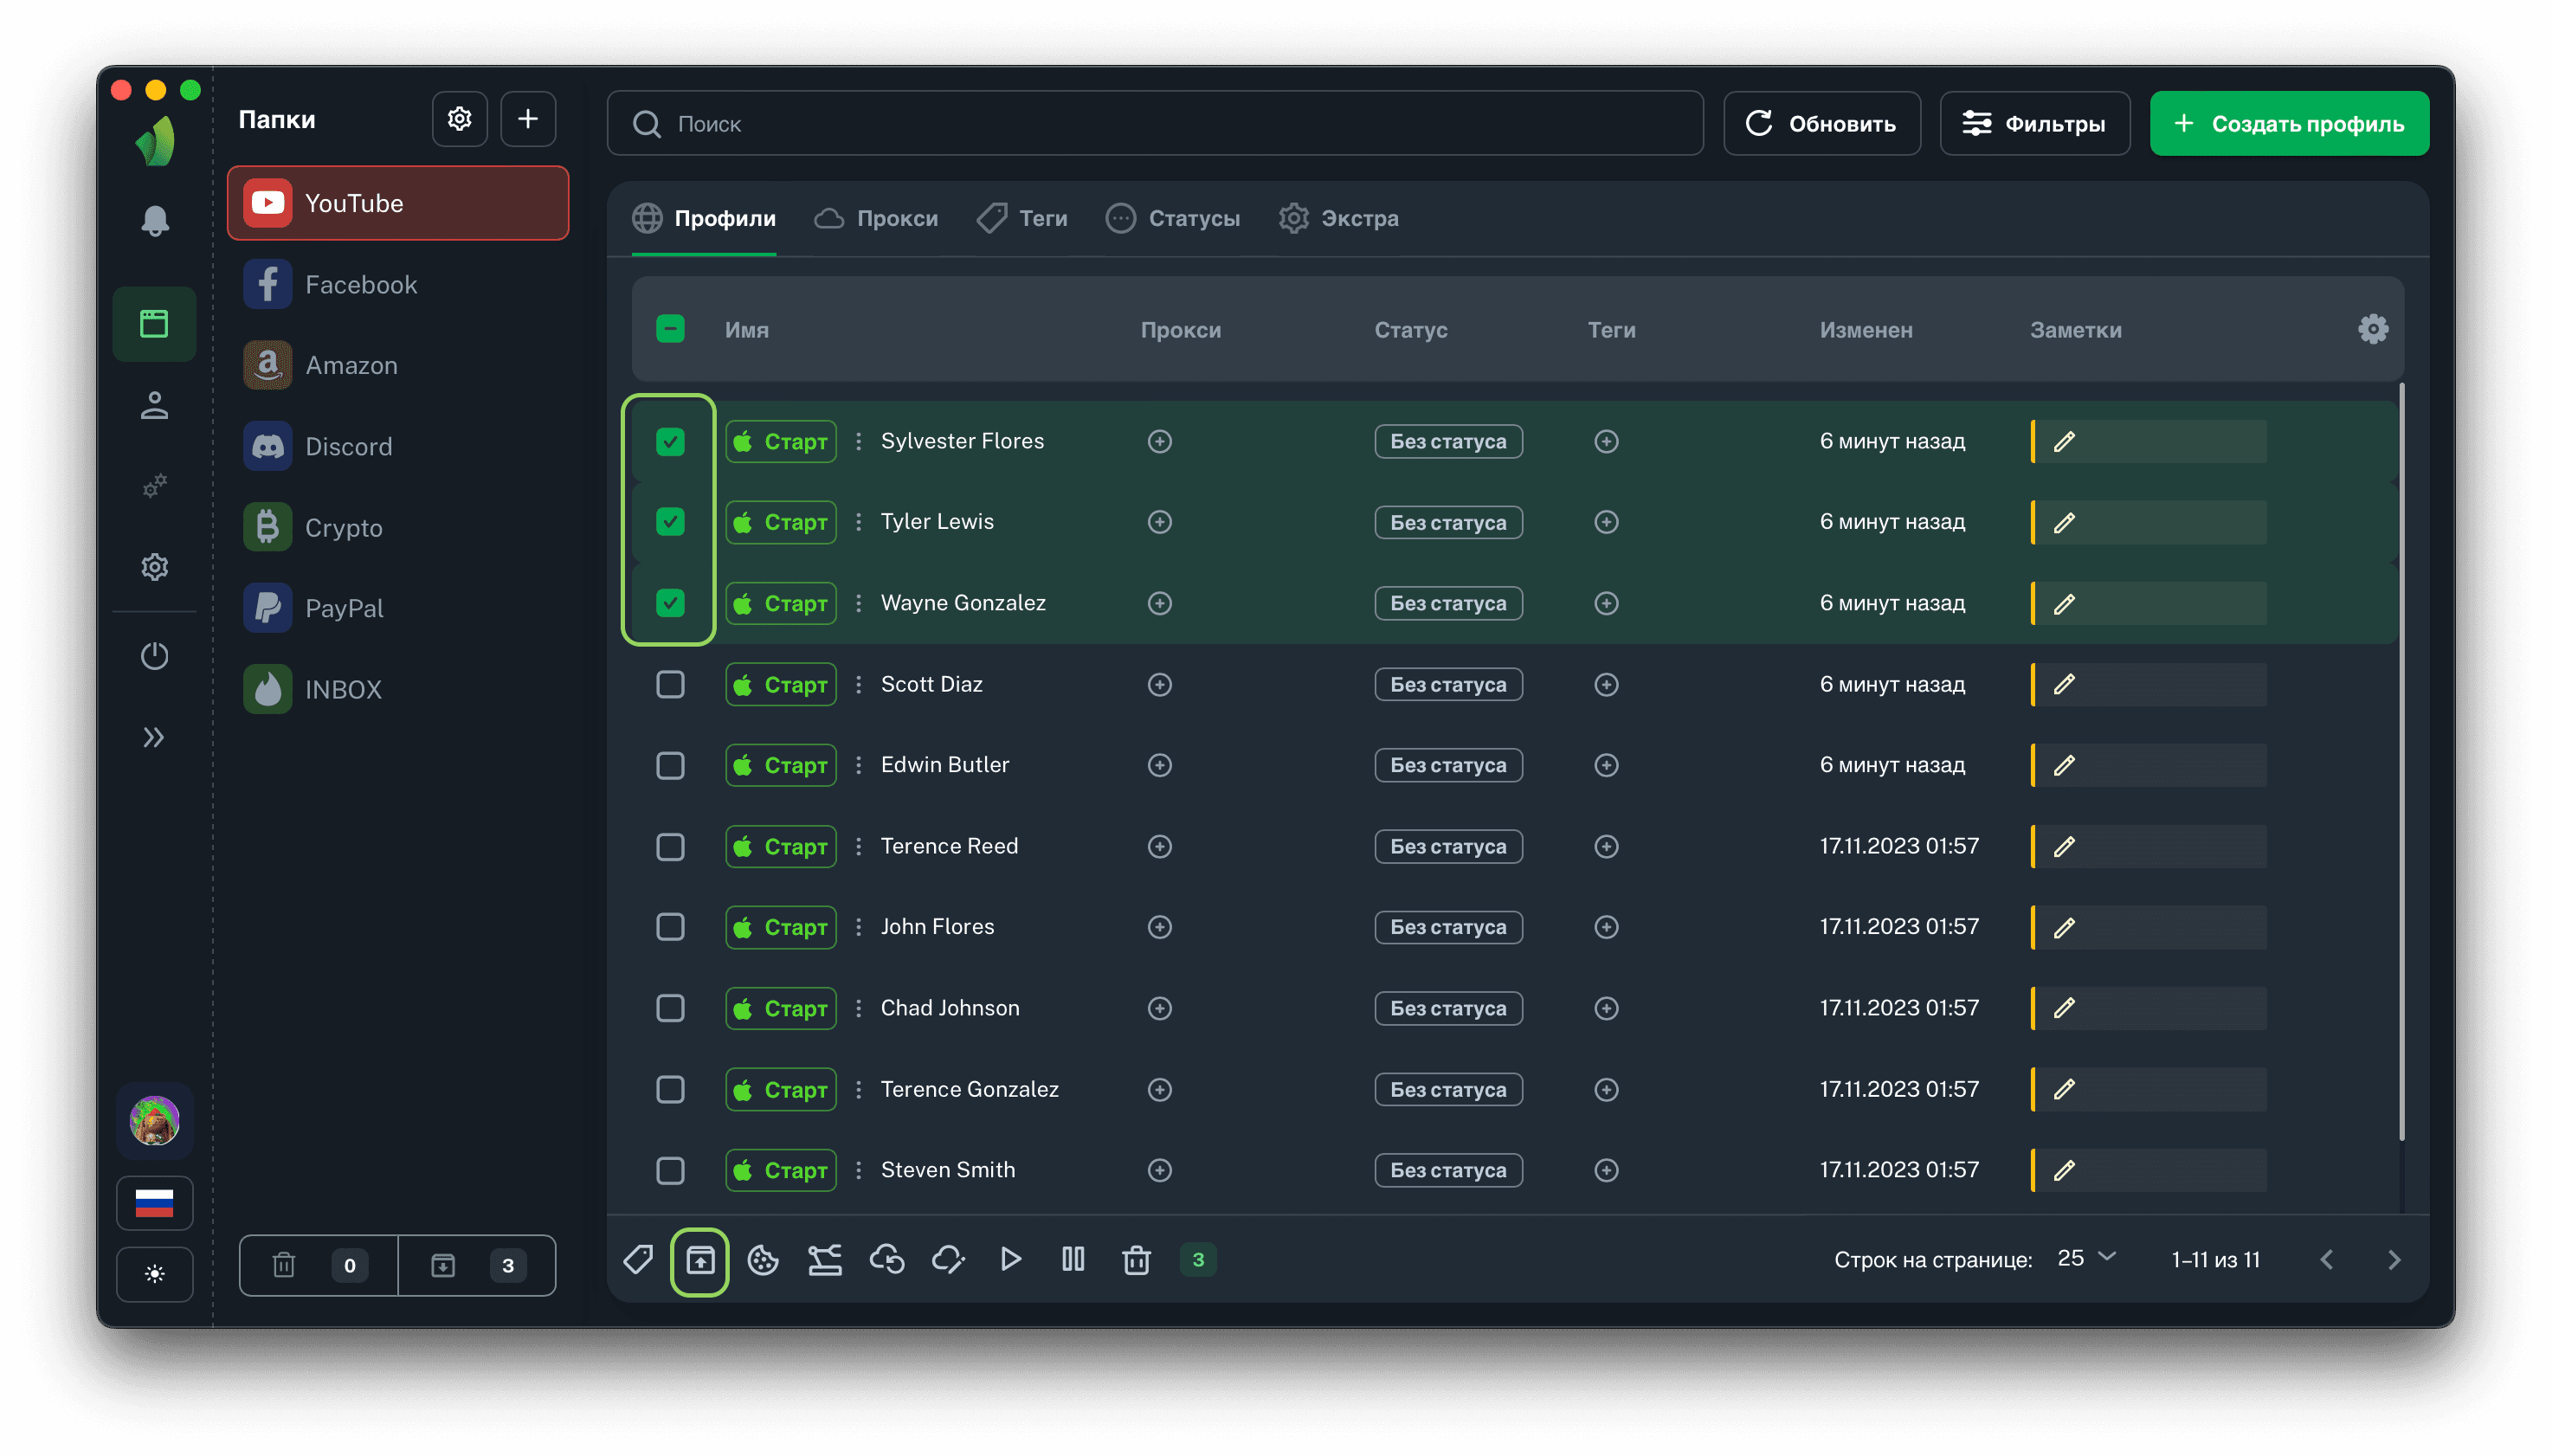
Select the profiles and click on the profile transfer icon in the mass actions menu
After transfer, the profile will appear in the recipient's received profiles folder.
Transfer profiles to a team
You also have the option to transfer a profile directly to your team or to someone else's team.
Transfer profiles to your team
If you are already on a team (or own a team) and you need to transfer a profile from personal mode to team mode, nothing is easier. In the profile transfer sidebar, on the To Team tab you will see the available teams to which you can transfer profiles. Just select the desired command in the list and, if necessary, enable the Transfer with proxy switcher.

Select the profiles and click on the profile transfer icon in the mass actions menu
After transfer, the profile will appear to the receiving team in the received profiles folder.
Note that the received profile folders in personal mode and in team mode are different folders!
Transfer profiles to another team
If you need to transfer profiles to a team you are not a member of, you will need a so-called transfer-key. How to get it written here. Otherwise, the process is not much different from other transfer types.
Important: The transfer key must be provided to you by the Receiving party, i.e. the team you are transferring the profile(s) to.
The transfer itself looks like this: in the profile transfer sidebar, on the To Team tab, select Send by Transfer Key in the team selection field, it is always at the bottom of the list. When selecting this item, an additional field for entering the transfer key will appear. It is necessary to insert it into the corresponding field and, if necessary, enable the Send with proxy switcher.

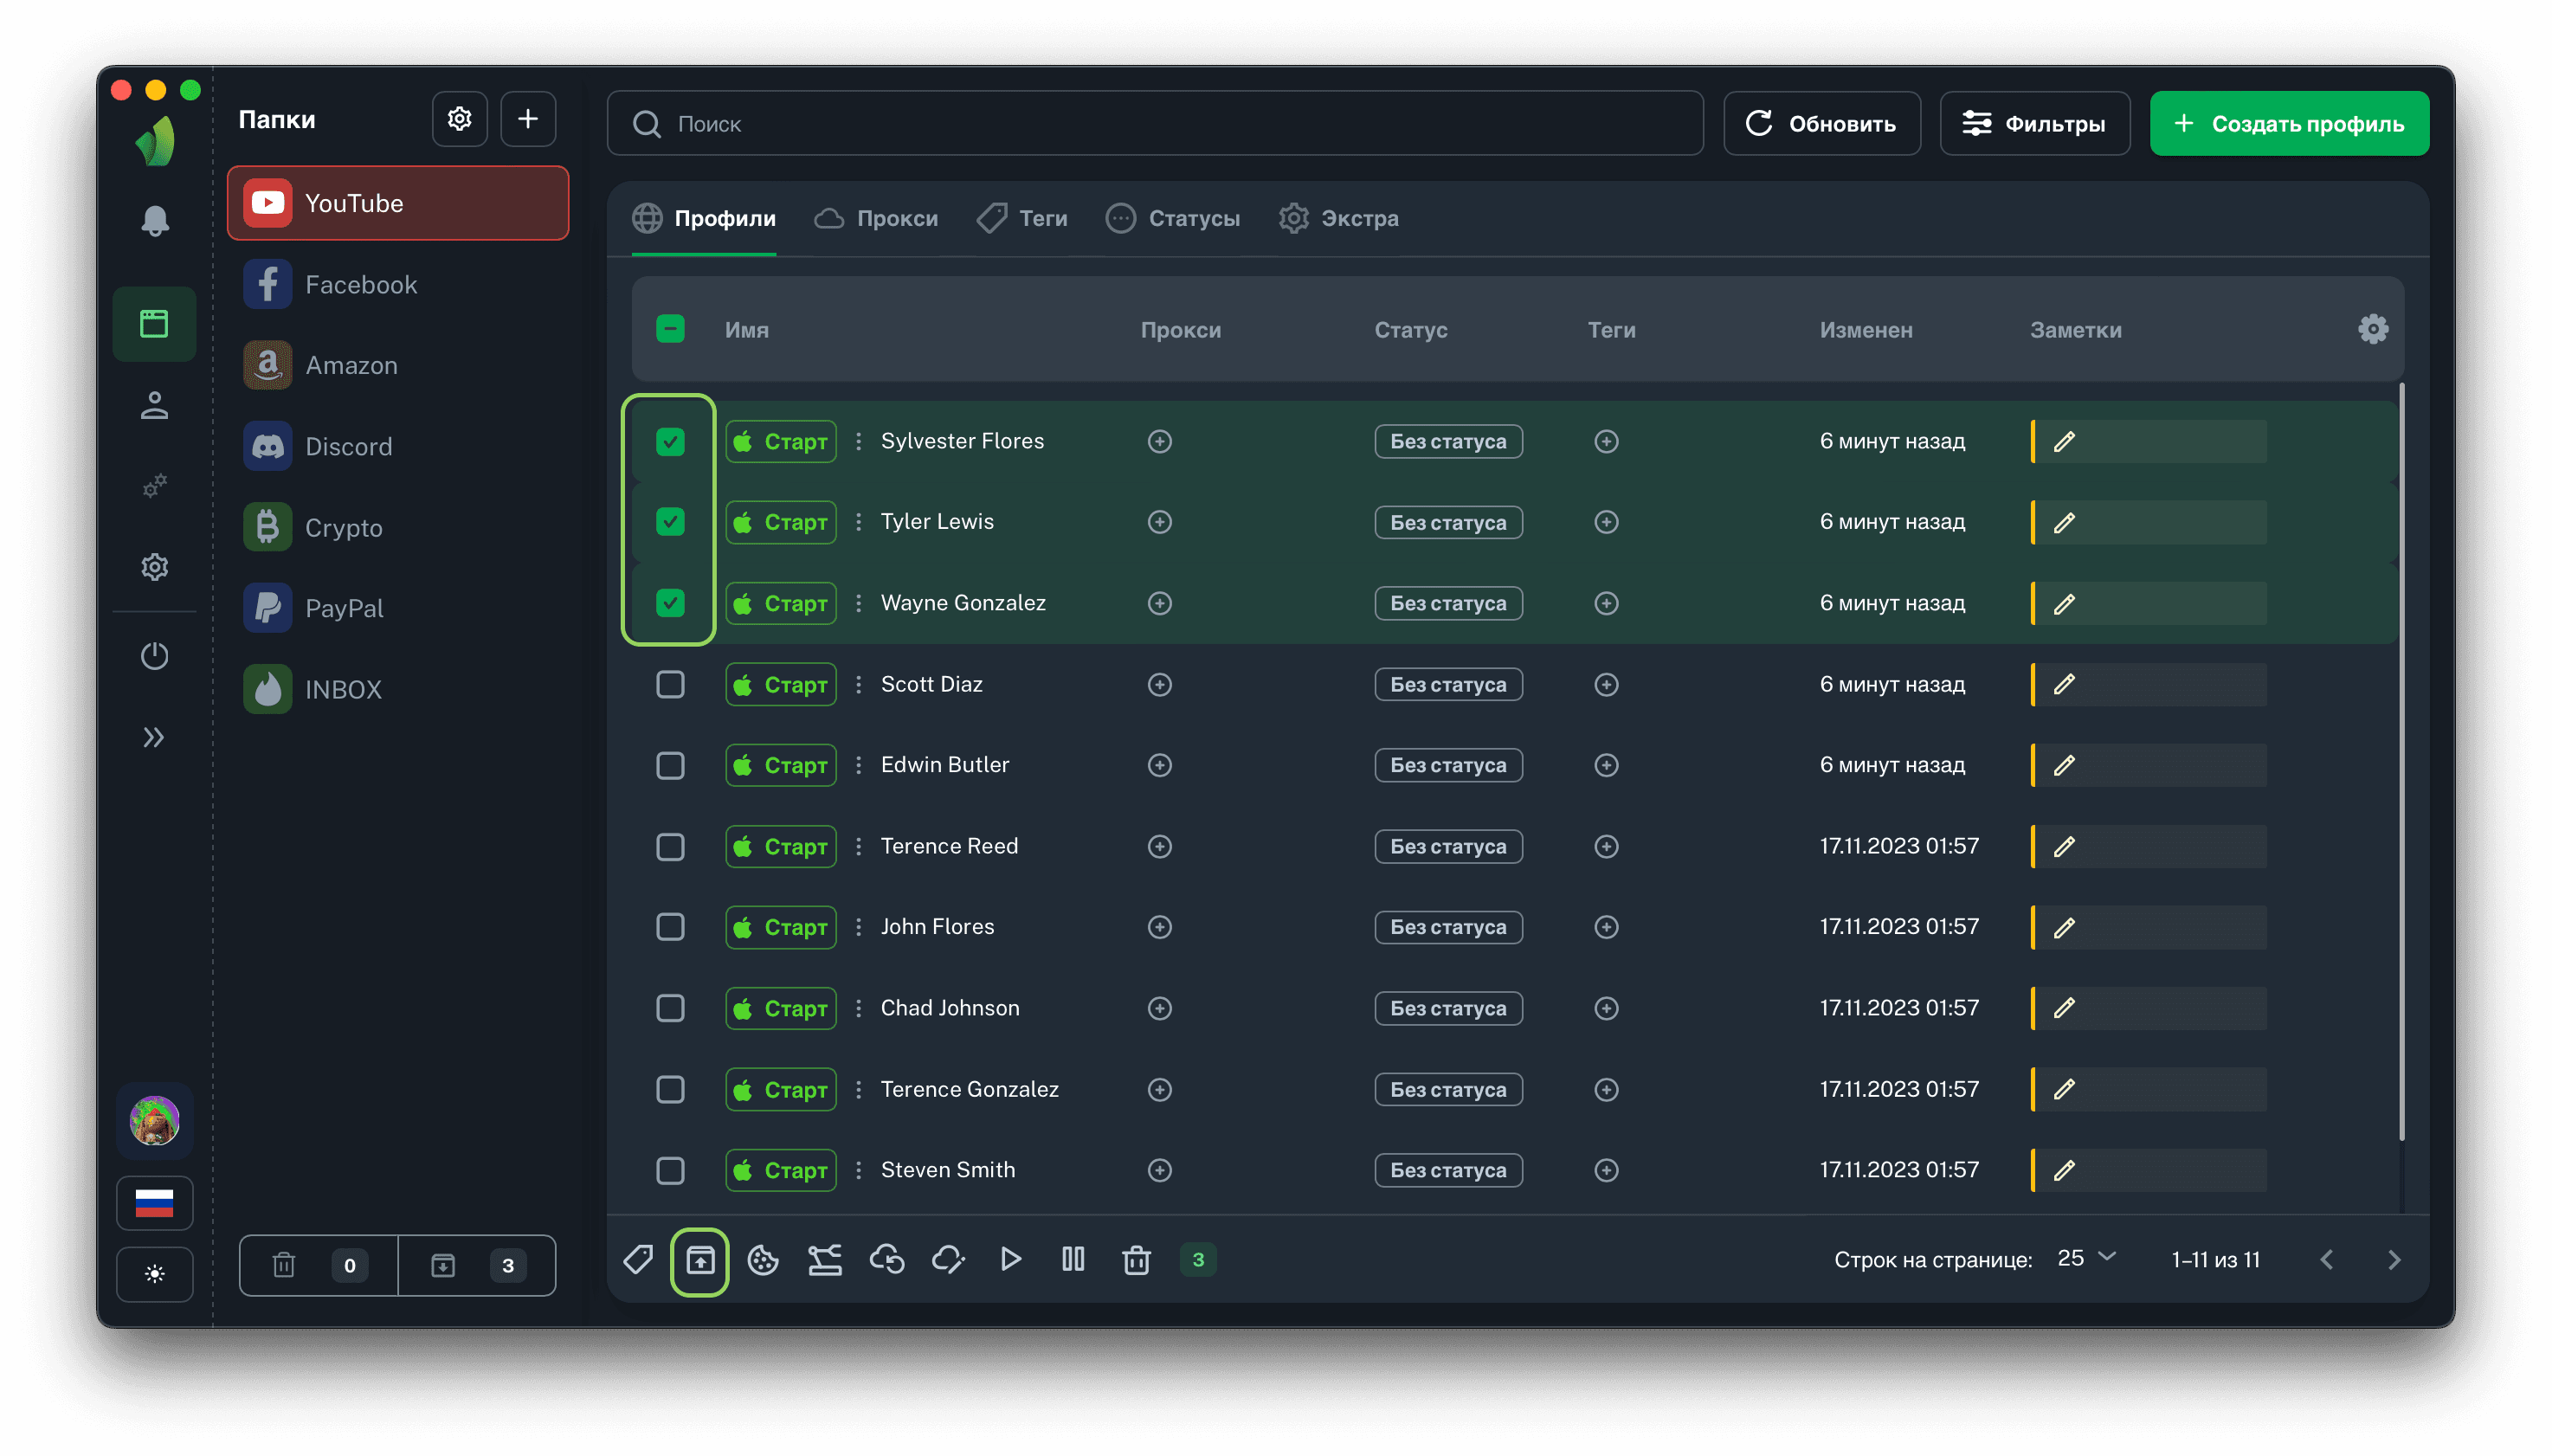
Select the profiles and click on the profile transfer icon in the mass actions menu
After transfer, the profile will appear to the receiving team in the received profiles folder.
Note that the received profile folders in personal mode and in team mode are different folders!